
Universal Remote Project
Background: In our bonus room above our garage (aka “the media room”) we currently have the following when wanting to watch tv:
- Manual switch to lower the projector screen
- Remote control for the Dell projector
- Remote control for the Sony DVD/Audio system
- Remote control for the cable box
- Remote control for the Roku box
- Remote control for the Nielsen Peoplemeter box
When watching tv, right after getting settled into the comfy couch one of us inevitably has to either 1) get up and walk over and switch something on/off, up/down, etc. or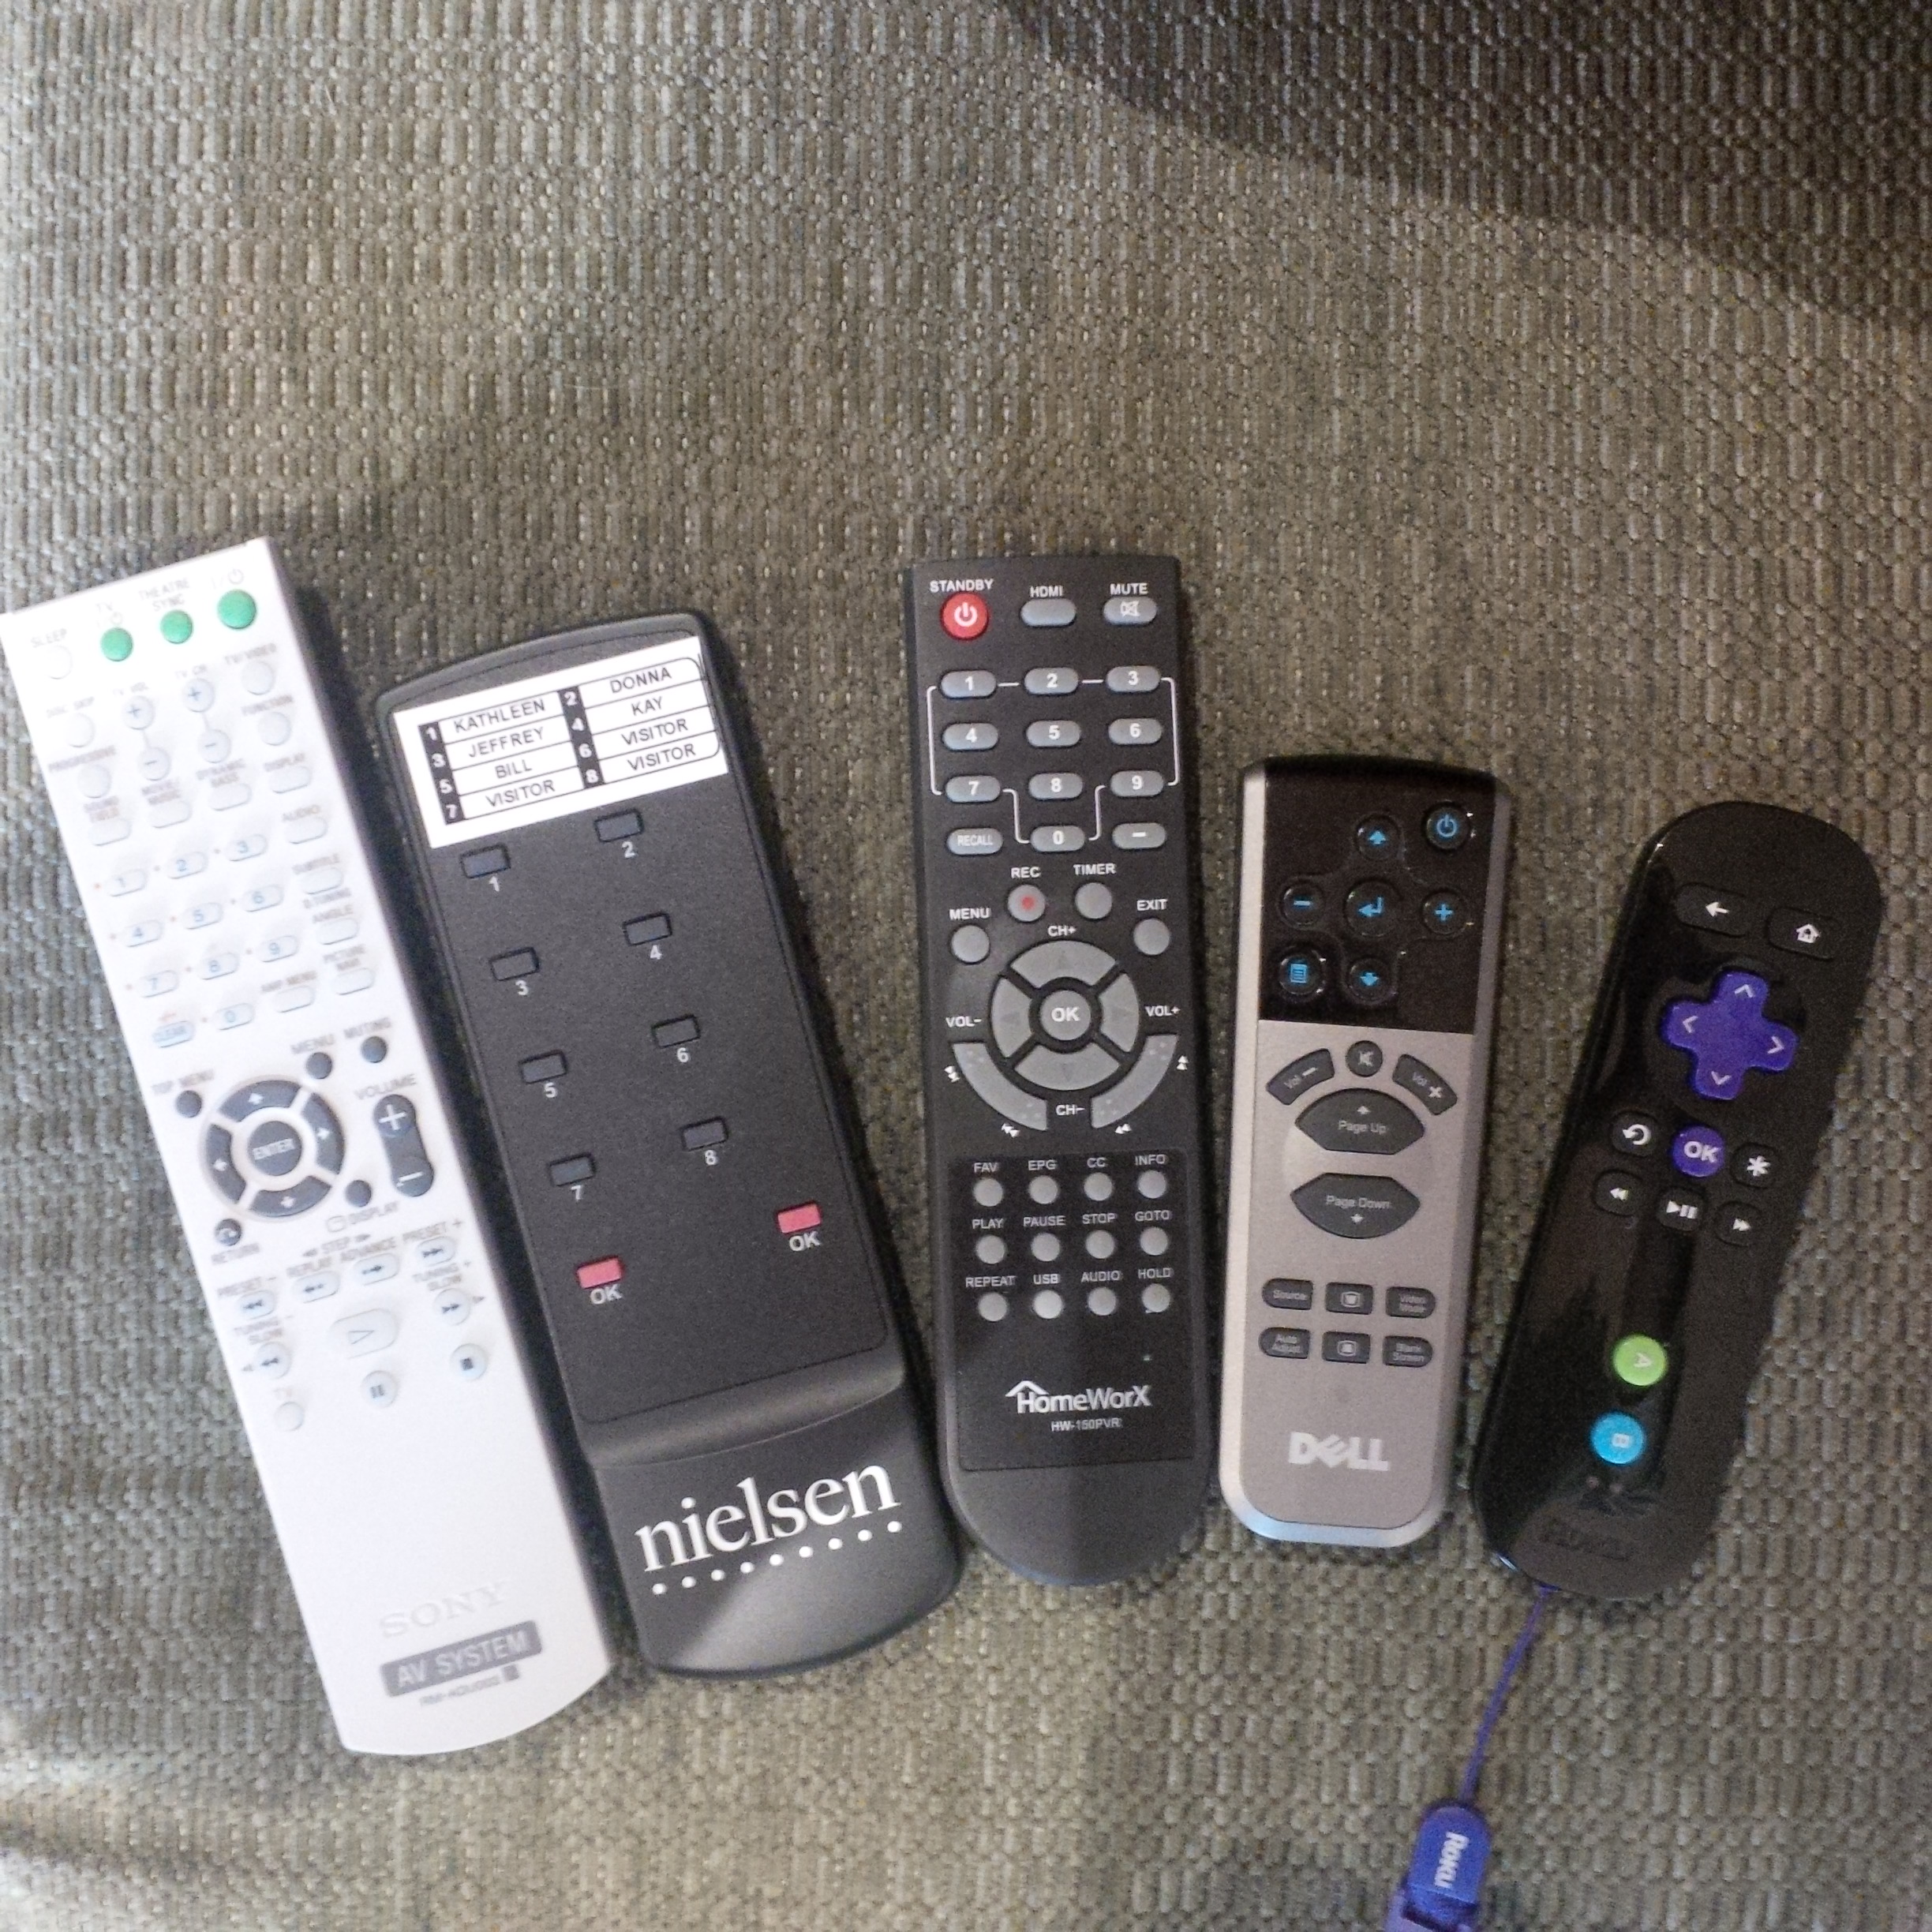 2) contort our arms up over the back of the couch and point a remote at something in order to make a change.
Wouldn’t it be great to do this all from a single, simple interface on a smartphone or tablet? And thus, another Raspberry Pi project was born!
So, with that thought, a new project was born and it really only required a few additional parts. Here’s what I used:
Parts List:
| ITEM | DESCRIPTION | COST | PIC |
| Total cost = ~$10 | |||
| Raspberry Pi | Credit-card sized linux server that runs Apache and MySQL and hosts the various php and python code files – I already had this but it sells for $35 | $0 | 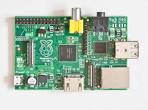 |
| Breadboard | I initially got this just for easy proto-typing on an earlier project but this cool package of 6 little ones was a great find and I used one of them just to handle easy break-out of the GPIO pins from the Pi | $0 |  |
| Wire | I just used some old bell wire I had in the shop | $0 |  |
| IR transmitter | I used 2 5mm IR LED’s (940nm wavelength) from Adafruit – 75 cents each | $1.50 | 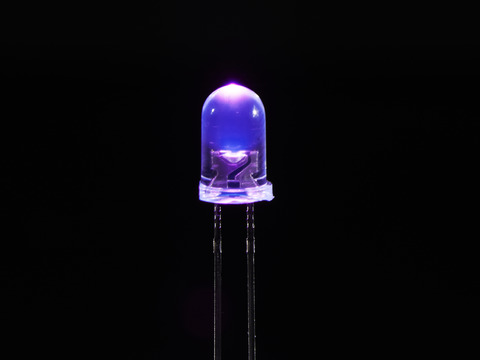 |
| PN2222 Transistor | This helps drive the IR LED – had one in the spare parts pile but costs less than a dollar. | $0 | 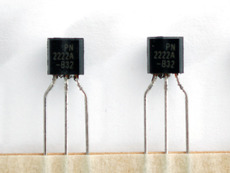 |
| 10K OhmResistor | Had this in the parts pile too! | $0 |  |
| IR receiver | I didn’t actually need this for the final project but it was a simple way to learn the IR codes from the existing remotes in order to code them in to the final project. I used the TSOP38283 | $1.95 |  |
Code: The basic structure of this project was to first capture and decode the signals generated by the various infrared remote control devices that we use and then write a web-based interface to enable simple control of all devices from a single interface on any device with web access.
- Step One – IR Remotes: Figure out how to do IR stuff with the Pi! Fortunately, there is a ton of work already out there that can be leveraged. The key to it is the LIRC project – Here is one of the best sources I found: http://alexba.in/blog/2013/01/06/setting-up-lirc-on-the-raspberrypi/ There is some simple wiring to hook up an IR receiver to the GPIO pins on the Pi. Here’s what the final circuit looked like:

At that point you can then install the LIRC tools and try to “decode” all of your IR remote signals so that you’ll then be able to send them back out to an IR LED emitter (also via the GPIO pins on the Pi)
- Step Two – Roku Box: I quickly realized that the remote control for the Roku box was not using Infrared to communicate (explains why it was our favorite of all the remotes). It’s actually a wifi enabled remote and it speaks tcp/ip to the roku box. Even better, I found a published api of sorts: http://a-more-common-hades.blogspot.com/2011/07/control-roku-from-command-line.html and it was then a trivial matter to add in the web code to control this box.
- Step Three – Projector Screen (WeMo Switch): This was a bit trickier – we have a projector screen that uses a motor on the regular circuitry in the home to raise and lower when a switch is flipped. I’m fairly comfortable working with wiring but did not
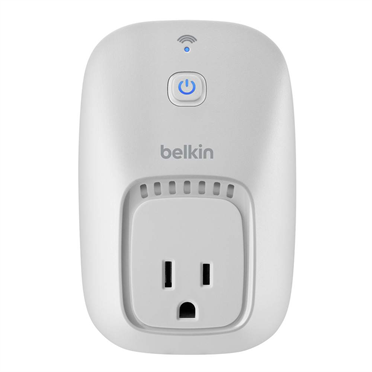
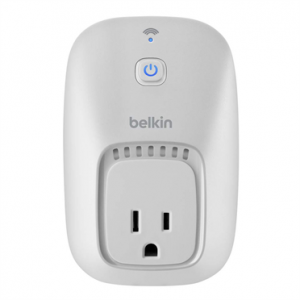 want to mess with trying to interface a low voltage relay from the pi into the normal home wiring. The solution actually turned out to be somewhat simple though. About a year ago I started getting interested in the whole home automation trend and wanted to play with some things so I bought a Belkin Wemo switch This gives you simple ip access to flip power to an outlet on and off. I then found this tool that let me run a simple server program on the Pi which could then pass toggle commands on to the switch: http://ouimeaux.readthedocs.org/en/latest/ Presto – now the projector screen motor can be controlled from the same app!
 - Step Four – The App: I wanted the app for this to be very “phone-friendly” and I also wanted to learn some new stuff to go on top of whatever python or php stuff I needed to write to make this all work. I found the answer in the JQUERY Mobile Framework- http://demos.jquerymobile.com/1.1.1/docs/about/intro.html This made it very easy to put a nice clean wrapper around some PHP and linux script stuff to emulate the various button pushes and switch flips. Here’s what the code looked like when it was done:
-
123456789101112131415161718192021222324252627282930313233343536373839404142434445464748495051525354555657585960616263646566676869707172737475767778798081828384858687888990919293949596979899100101102103104105106107108109110111112113114115116117118119120121122123124125126127128129130131132133134135136137138139140141142143144145146147148149150151152153154155156157158159160161162163164165166167168169170171172173174175176177178179180181182183184185186187188189190191192193194195196197198199200201202203204205206207208209210211212213214215216217218219220221222223224225226227228229230231232233234235236237238239240241242243244245246247248249250251252253254255256257258259260<?phpif (isset($_POST['ir_s1'])){echo '<script type="text/javascript">location.reload();</script>';} // Clear variables so they don't repost on reload and fire the IR...?><!DOCTYPE html PUBLIC "-//W3C//DTD XHTML 1.0 Strict//EN""http://www.w3.org/TR/xhtml1/DTD/xhtml1-strict.dtd"><html xmlns="http://www.w3.org/1999/xhtml" xml:lang="en" lang="en"><head><title>JKB REMOTE</title><meta http-equiv="content-type" content="text/html;charset=utf-8" /><meta name="viewport" content="width=device-width; initial-scale=1.0; maximum-scale=1.0; user-scalable=0;"/><meta name="apple-mobile-web-app-capable" content="yes" /><meta name="apple-mobile-web-app-status-bar-style" content="black-translucent" /><link rel="stylesheet" href="http://code.jquery.com/mobile/1.4.5/jquery.mobile-1.4.5.min.css" /><script src="http://code.jquery.com/jquery-1.7.1.min.js"></script><script src="http://code.jquery.com/mobile/1.4.5/jquery.mobile-1.4.5.min.js"></script></head><body><div data-role="page" id="home"><div data-role="header" data-theme="b"><h1>MEDIA ROOM</h1></div><!-- /header --><div data-role="content" align="center"><form method="post"><p><button data-role="button" data-icon="power" data-inline="true" name="all_on">ALL ON</button><button data-role="button" data-icon="delete" data-inline="true" name="all_off">ALL OFF</button></p></form><ul data-role="listview" data-inset="true"><li><a href="#roku">ROKU</a></li><li><a href="#tv">TV</a></li><li><a href="#sony">SONY DVD</a></li><li><a href="#nielsen">NIELSEN</a></li><li><a href="#projector">PROJECTOR / SCREEN</a></li></ul><form method="post"><p><button data-role="button" data-icon="arrow-d" data-inline="true" name="ir_s3">VOL DN</button><button data-role="button" data-icon="arrow-u" data-inline="true" name="ir_s2">VOL UP</button></p><p><button data-role="button" data-icon="audio" data-inline="true" name="ir_s4">MUTE</button></p></form></div><!-- /content --><div data-role="footer" class="footer-docs" data-theme="c" align="center"><p>© 2014 - JKB</p></div><!-- /footer --></div><!-- /page one --><div data-role="page" id="roku"><div data-role="header"><h1>ROKU</h1><a href="#home" data-icon="home" data-iconpos="notext" data-direction="reverse">HOME</a></div><!-- /header --><div data-role="content" align="center"><form method="post" target="_self#roku"><p><button data-role="button" data-icon="arrow-l" data-inline="true" name="roku-back">BACK</button><button data-role="button" data-icon="home" data-inline="true" name="roku">HOME</button></p><p><button data-role="button" data-icon="carat-u" data-inline="true" name="roku-up">UP</button></p><p><button data-role="button" data-icon="carat-l" data-inline="true" name="roku-left">L</button><button data-role="button" data-icon="star" data-inline="true" name="roku-ok">OK</button><button data-role="button" data-icon="carat-r" data-inline="true" name="roku-right">R</button></p><p><button data-role="button" data-icon="carat-d" data-inline="true" name="roku-down">DN</button></p><p><button data-role="button" data-icon="recycle" data-inline="true" name="roku-pause">PLAY/PAUSE</button></p><HR><p><input type="image" src="./images/hulu_icon.jpg" data-inline="true" width="60" height="60" name="hulu"></input><input type="image" src="./images/netflix_icon.jpg" data-inline="true" width="130" height="60" name="netflix"><input type="image" src="./images/pandora_icon.jpg" data-inline="true" width="60" height="60" name="pandora"></p><p><input type="image" src="./images/amazon.jpg" data-inline="true" width="60" height="60" name="amazon"><input type="image" src="./images/ted.jpg" data-inline="true" width="60" height="60" name="ted"><input type="image" src="./images/picasa.jpg" data-inline="true" width="60" height="60" name="picasa"></p></form></div><!-- /content --><div data-role="footer" class="footer-docs" data-theme="c" align="center"><p>© 2014 - JKB</p></div><!-- /footer --></div><!-- /Roku page --><div data-role="page" id="tv"><div data-role="header"><h1>TV</h1><a href="#home" data-icon="home" data-iconpos="notext" data-direction="reverse">HOME</a></div><!-- /header --><div data-role="content" align="center"><form method="post" target="_self#tv"><p><button data-role="submit" data-icon="power" data-inline="true" name="ir_t1">TV ON/OFF</button></p><p><button data-role="submit" data-icon="carat-u" data-inline="true" name="ir_t2">CH UP</button><button data-role="submit" data-icon="carat-d" data-inline="true" name="ir_t3">CH DN</button></p><p><button data-role="submit" data-icon="refresh" data-inline="true" name="ir_t4">LAST</button></p></form></div><!-- /content --><div data-role="footer" class="footer-docs" data-theme="c" align="center"><p>© 2014 - JKB</p></div><!-- /footer --></div><!-- /TV page --><div data-role="page" id="sony"><div data-role="header"><h1>SONY</h1><a href="#home" data-icon="home" data-iconpos="notext" data-direction="reverse">HOME</a></div><!-- /header --><div data-role="content" align="center"><form method="post" target="_self#sony"><p><button data-role="button" data-icon="power" data-inline="true" name="ir_s1">SONY ON/OFF</button></p><p><button data-role="button" data-icon="plus" data-inline="true" name="ir_s2">VOL UP</button><button data-role="button" data-icon="minus" data-inline="true" name="ir_s3">VOL DN</button></p><p></p><button data-role="button" data-icon="audio" data-inline="true" name="ir_s4">MUTE</button></p></form></div><!-- /content --><div data-role="footer" class="footer-docs" data-theme="c" align="center"><p>© 2014 - JKB</p></div><!-- /footer --></div><!-- /SONY page --><div data-role="page" id="nielsen"><div data-role="header"><h1>NIELSEN</h1><a href="#home" data-icon="home" data-iconpos="notext" data-direction="reverse">HOME</a></div><!-- /header --><div data-role="content" align="center"><form method="post" target="_self#nielsen"><legend>Select current viewers:</legend><p><button data-role="button" data-inline="true" name="ir_n1">KATIE</button><button data-role="button" data-inline="true" name="ir_n2">DONNA</button><button data-role="button" data-inline="true" name="ir_n3">JEFF</button></p><p><button data-role="button" data-inline="true" name="ir_n4">KAY</button><button data-role="button" data-inline="true" name="ir_n5">BILL</button><button data-role="button" data-inline="true" name="ir_n6">VISITOR</button></p><HR><button data-role="button" data-icon="check" data-inline="true" name="ir_n0">OK</button></form></div><!-- /content --><div data-role="footer" class="footer-docs" data-theme="c" align="center"><p>© 2014 - JKB</p></div><!-- /footer --></div><!-- /NIELSEN page --><div data-role="page" id="projector"><div data-role="header"><h1>PROJECTOR / SCREEN</h1><a href="#home" data-icon="home" data-iconpos="notext" data-direction="reverse">HOME</a></div><!-- /header --><div data-role="content" align="center"><form method="post" target="_self#projector"><p><button data-role="button" data-icon="arrow-u" data-inline="true" name="screen">SCREEN UP/DOWN</button></p><p><button data-role="button" data-icon="power" data-inline="true" name="ir_d1">PROJECTOR ON/OFF</button><button data-role="button" data-icon="gear" data-inline="true" name="ir_d2">PROJECTOR SOURCE</button></p></form></div><!-- /content --><div data-role="footer" class="footer-docs" data-theme="c" align="center"><p>© 2014 - JKB</p></div><!-- /footer --></div><!-- /PROJECTOR page --></body></html><?phpif (isset($_POST['all_on'])) {exec('irsend SEND_ONCE DELL PWR;sleep .1;irsend SEND_ONCE TV KEY_ON;sleep .1;irsend SEND_ONCE SONY KEY_ON KEY_ON KEY_ON;curl -X POST http://localhost:5000/api/device/WeMo Switch 1?state="toggle";sleep 20;irsend SEND_START NIELSEN KEY_2;sleep 0.2;irsend SEND_STOP NIELSEN KEY_2;irsend SEND_START NIELSEN KEY_3;sleep 0.2;irsend SEND_STOP NIELSEN KEY_3;irsend SEND_ONCE NIELSEN KEY_0;');}if (isset($_POST['all_off'])) {exec('irsend SEND_ONCE NIELSEN KEY_0;irsend SEND_ONCE TV KEY_ON;sleep .1;irsend SEND_ONCE SONY KEY_ON KEY_ON KEY_ON;sleep .1;irsend SEND_ONCE DELL PWR;sleep 1;irsend SEND_ONCE DELL PWR;sleep .1;curl -X POST http://localhost:5000/api/device/WeMo Switch 1?state="toggle"');}if (isset($_POST['screen'])) {exec('curl -X POST http://localhost:5000/api/device/WeMo Switch 1?state="toggle"');}if (isset($_POST['roku-back'])) {exec('curl -d "" "http://xxx.xxx.xxx.xxx:yyyy/keypress/Back"');}if (isset($_POST['roku'])) {exec('curl -d "" "http://xxx.xxx.xxx.xxx:yyyy/keypress/Home"');}if (isset($_POST['roku-up'])) {exec('curl -d "" "http://xxx.xxx.xxx.xxx:yyyy/keypress/Up"');}if (isset($_POST['roku-left'])) {exec('curl -d "" "http://xxx.xxx.xxx.xxx:yyyy/keypress/Left"');}if (isset($_POST['roku-ok'])) {exec('curl -d "" "http://xxx.xxx.xxx.xxx:yyyy/keypress/Select"');}if (isset($_POST['roku-right'])) {exec('curl -d "" "http://xxx.xxx.xxx.xxx:yyyy/keypress/Right"');}if (isset($_POST['roku-down'])) {exec('curl -d "" "http://xxx.xxx.xxx.xxx:yyyy/keypress/Down"');}if (isset($_POST['roku-pause'])) {exec('curl -d "" "http://xxx.xxx.xxx.xxx:yyyy/keypress/Play"');}if (isset($_POST['hulu']) || isset($_POST['hulu_x'])) {exec('curl -d "" "http://xxx.xxx.xxx.xxx:yyyy/launch/2285"');}if (isset($_POST['netflix']) || isset ($_POST['netflix_x'])) {exec('curl -d "" "http://xxx.xxx.xxx.xxx:yyyy/launch/12"');}if (isset($_POST['pandora']) || isset ($_POST['pandora_x'])) {exec('curl -d "" "http://xxx.xxx.xxx.xxx:yyyy/launch/28"');}if (isset($_POST['amazon']) || isset ($_POST['amazon_x'])) {exec('curl -d "" "http://xxx.xxx.xxx.xxx:yyyy/launch/13"');}if (isset($_POST['ted']) || isset ($_POST['ted_x'])) {exec('curl -d "" "http://xxx.xxx.xxx.xxx:yyyy/launch/4070"');}if (isset($_POST['picasa']) || isset ($_POST['picasa_x'])) {exec('curl -d "" "http://xxx.xxx.xxx.xxx:yyyy/launch/1883"');}//if (isset($_POST['ir_n0'])) {exec('irsend SEND_START NIELSEN KEY_OK;sleep .5;irsend SEND_STOP NIELSEN KEY_OK');}if (isset($_POST['ir_n0'])) {exec('irsend SEND_ONCE NIELSEN KEY_0 KEY_0 KEY_0 KEY_0 KEY_0 KEY_0');}if (isset($_POST['ir_n1'])) {exec('irsend SEND_START NIELSEN KEY_1;sleep 1;irsend SEND_STOP NIELSEN KEY_1');}if (isset($_POST['ir_n2'])) {exec('irsend SEND_START NIELSEN KEY_2;sleep 0.2;irsend SEND_STOP NIELSEN KEY_2');}if (isset($_POST['ir_n3'])) {exec('irsend SEND_START NIELSEN KEY_3;sleep 0.2;irsend SEND_STOP NIELSEN KEY_3');}if (isset($_POST['ir_n4'])) {exec('irsend SEND_START NIELSEN KEY_4;sleep 0.2;irsend SEND_STOP NIELSEN KEY_4');}if (isset($_POST['ir_n5'])) {exec('irsend SEND_START NIELSEN KEY_5;sleep 0.2;irsend SEND_STOP NIELSEN KEY_5');}if (isset($_POST['ir_n6'])) {exec('irsend SEND_START NIELSEN KEY_6;sleep 0.2;irsend SEND_STOP NIELSEN KEY_6');}if (isset($_POST['ir_t1'])) {exec('irsend SEND_ONCE TV KEY_ON');}if (isset($_POST['ir_t2'])) {exec('irsend SEND_ONCE TV KEY_CHANNELUP');}if (isset($_POST['ir_t3'])) {exec('irsend SEND_ONCE TV KEY_CHANNELDOWN');}if (isset($_POST['ir_t4'])) {exec('irsend SEND_ONCE TV KEY_LAST');}if (isset($_POST['ir_s1'])) {exec('irsend SEND_ONCE SONY KEY_ON KEY_ON KEY_ON');}if (isset($_POST['ir_s2'])) {exec('irsend SEND_ONCE SONY KEY_VOLUMEUP KEY_VOLUMEUP KEY_VOLUMEUP');}if (isset($_POST['ir_s3'])) {exec('irsend SEND_ONCE SONY KEY_VOLUMEDOWN KEY_VOLUMEDOWN KEY_VOLUMEDOWN');}if (isset($_POST['ir_s4'])) {exec('irsend SEND_ONCE SONY KEY_MUTE KEY_MUTE KEY_MUTE');}if (isset($_POST['ir_d1'])) {exec('irsend SEND_ONCE DELL PWR;sleep 1;irsend SEND_ONCE DELL PWR');}if (isset($_POST['ir_d2'])) {exec('irsend SEND_ONCE DELL SRC');}?>
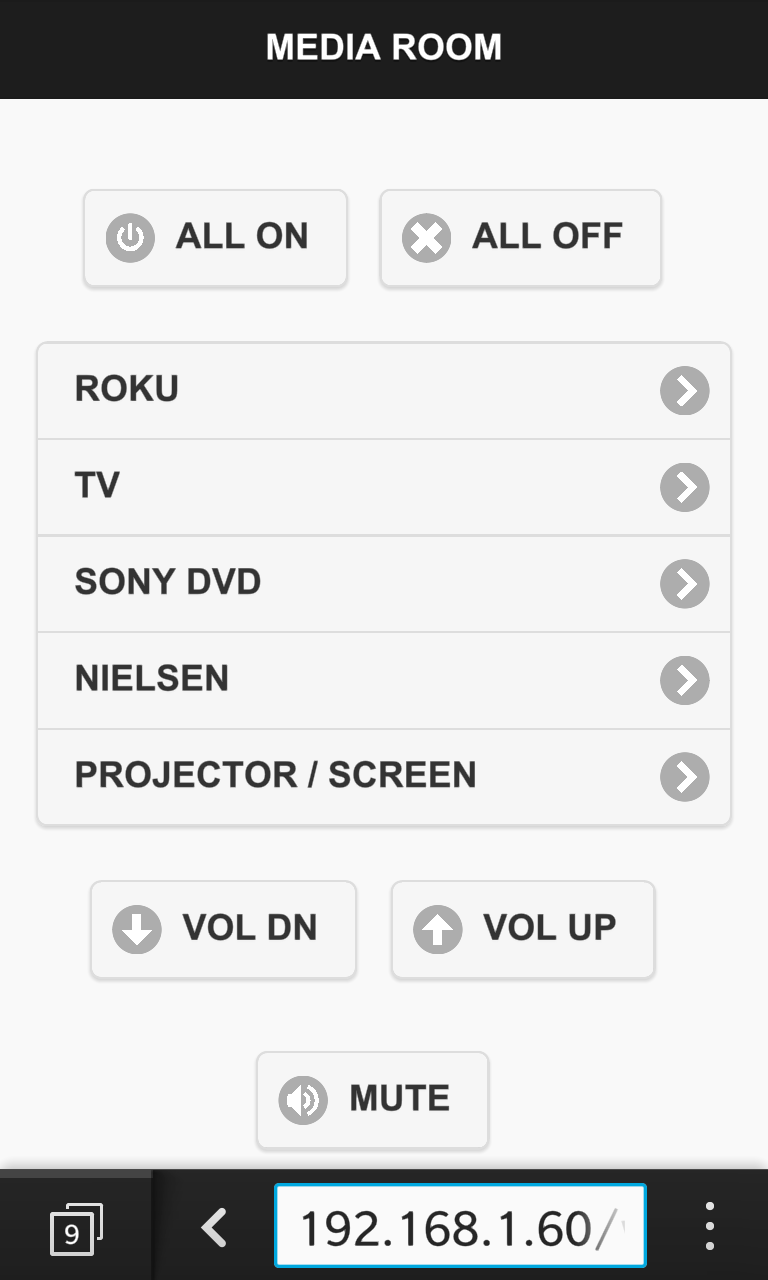
The main app screen best features are the “ALL ON” & “ALL OFF” buttons!
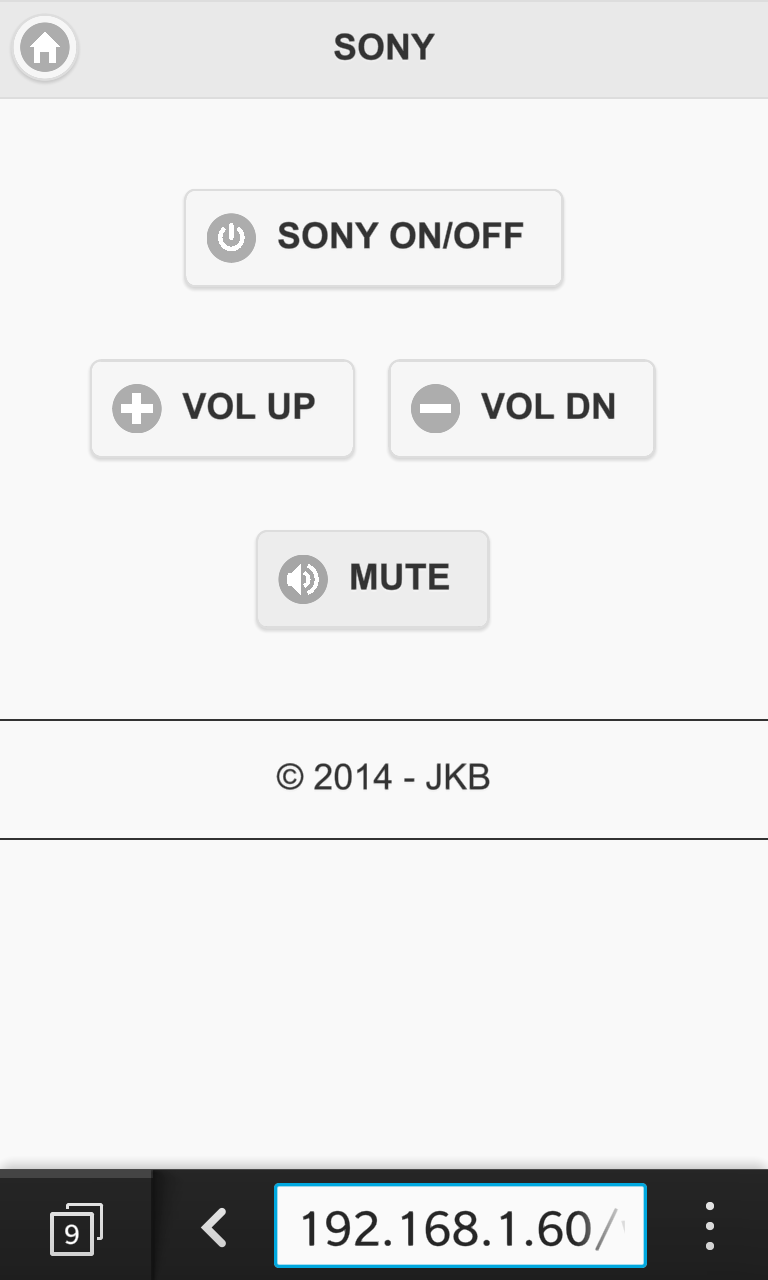
Example of one of the sub-menu screens – individual control for the key buttons of each component is provided…
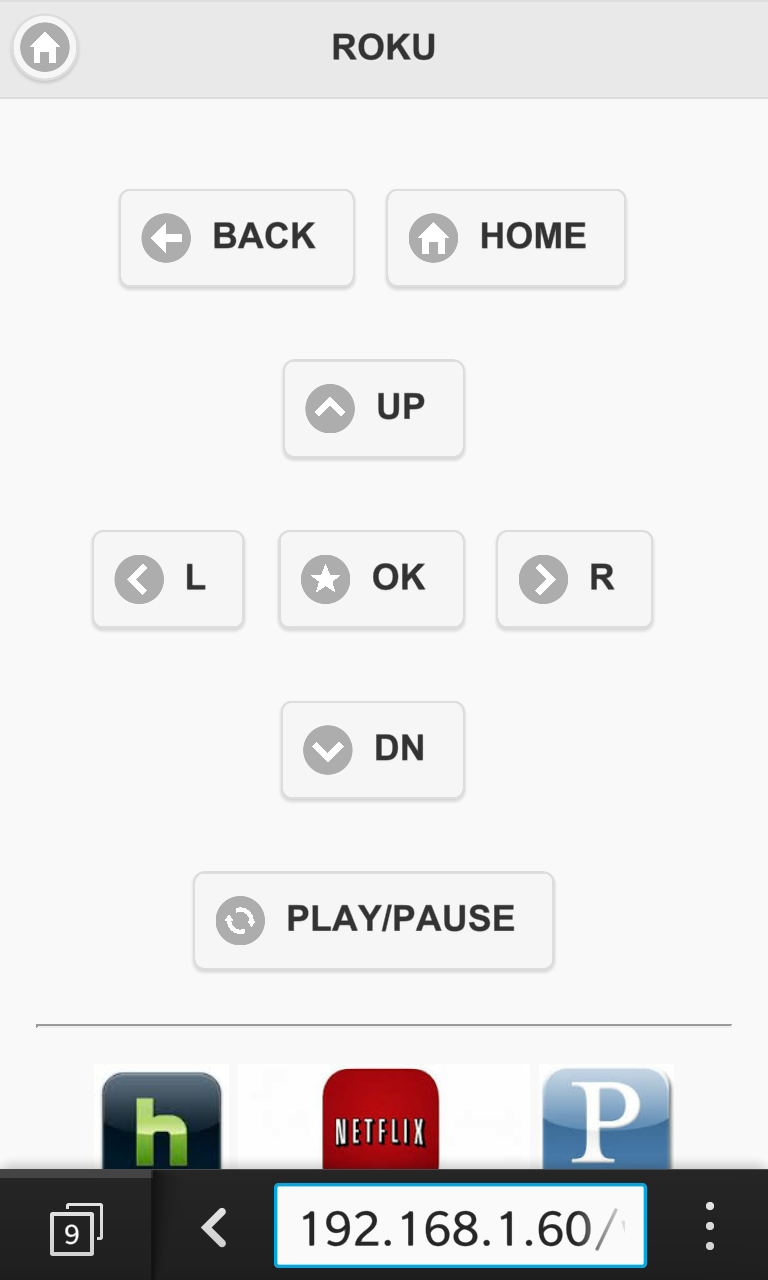
The Roku page has the standard navigation buttons but also some quick link to the key apps we use (Netflix, Hulu, etc) – this is even better than the standard remote!
- Step Five – Running Wires: Once everything was working I needed to get the IR LEDs to a spot where they faced the cabinet that has all of the equipment. There is attic space behind and above this room so it was fairly easy to run so
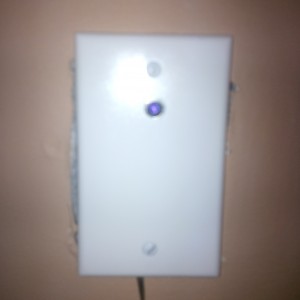 me old door-bell wire from the spot where the Raspberry Pi sits to a spot on the opposite wall directly across from the cabinet. There happened to be a box with a blank faceplate on it that just had a speaker wire in it. I drilled a small hole in the faceplate and popped the led through it. The projector is the only piece of equipment that’s not in the media cabinet (It’s mounted on the ceiling) so it was hit-or-miss as to whether the IR would actually turn it on/off consistently. This wound up being fairly easily solved by extending the bell wire around the corner and mounting a second IR LED at the end of it, facing directly at the projector – worked like a champ!
Key Challenges:
- Not all IR remotes are created equal – I learned more than I wanted to about this stuff and there are a lot of formats, timings, etc. Most of the popular ones have been figured out already and with a bit of web surfing you can find what you need. As an example, my Sony DVD system gave me some headaches until I found that it needs to have each IR code sent 3 times in succession – worked great after making that small change.
- Not so for the Nielsen Peoplemeter OK button – this has given me fits and I still have not figured it out – I have all the other buttons on this working but “OK” (which is the most important button) will not work. This is not a common device and I only found one other reference to it anywhere on the web (another person asking how to solve the same problem I have!). At this time, I’m waiting for our Nielsen rep to get back to me with some more details on the remote itself – hopefully that will lead somewhere.
- Another strange problem that is not yet solved is that after adding the second IR LED (to handle the overhead projector) the cable box got a bit flaky. It still works, but not always on the first (or even second) button press. I suspect there is some timing problem or interference issue when sending the codes from both LEDs at the same time (since it works flawlessly when I only have the single IR LED in place). This hasn’t been a big enough headache to spend much time on yet but it’s on the to-do list to try to eventually figure it out!
Next Steps To-Do’s:
- Resolve Nielsen OK button issue – if I can get this figured out then I’ll also update the code to autosend the OK button once every 60 mins while things are powered on (this is a requirement of the Nielsen program and something that we almost always forget to do since the box is behind us when we are watching tv)
- Dimmers – we have 3 sets of overhead floodlights in this room – all on dimmers. It looks like there are lots of technologies that I could use to be able to control these from the same app – just have to wait for prices to come down (a lot) or find some used stuff on eBay. It would be cool to have this in the app but we rarely change the light settings once we hit the couch so it’s much more of a nice-to-have than need-to-have.
Acknowledgements: A couple of good web links helped me as I was tinkering with this project:
http://randomtutor.blogspot.com/2013/01/web-based-ir-remote-on-raspberry-pi.html
http://www.stavros.io/posts/how-turn-your-raspberry-pi-infrared-remote-control/
https://learn.adafruit.com/using-an-ir-remote-with-a-raspberry-pi-media-center/hardware
And here is the link to a great library of existing LIRC config files: http://lirc.sourceforge.net/remotes/